Connecting a Power Socket
These instructions apply to the Power Socket that we supply, but all such plugs are more-or-less the same, so you could probably attempt any such plug you have.
Have you done any soldering before?
If not, you should have a look at 'Soldering'.
Then you'll need a knife for stripping wire insulation, soldering iron and solder.
Ideally read the instructions through first before attempting the job.
Got all that? Let's go...
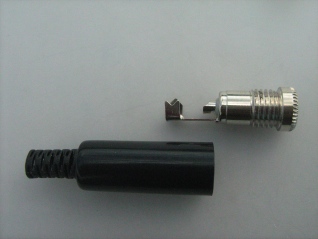
Unscrew the metal part from the plastic shroud.
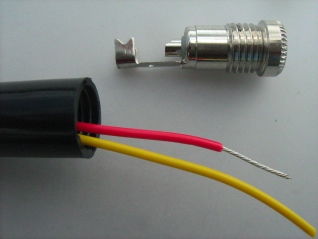
Feed your wires through the shroud - from the narrow end.
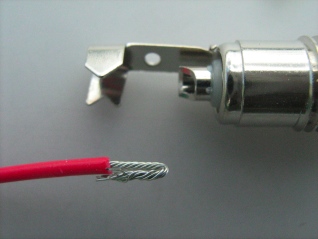
Bare & Twist the positive wire to no more than 1cm.
Fold it in half.
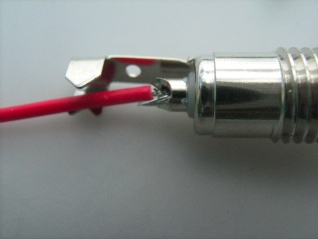
It should then fit inside the cavity in middle of the plug.
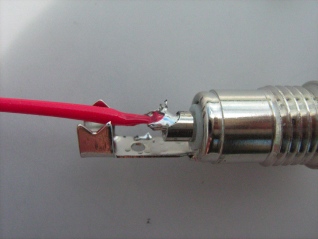
Solder into place.
Make sure the metal of the socket gets hot enough for the solder to bond it to the wire.
Be careful not to solder the bit you are working on to the negative connector (see below).
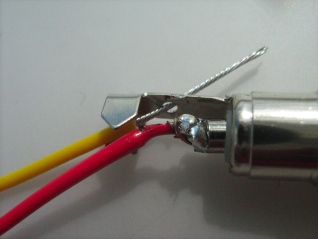
Insert the negative wire through the hole in the negative connector.
Bend it back on itself.
Solder it into place.
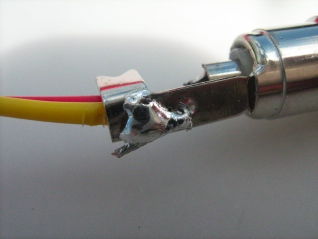
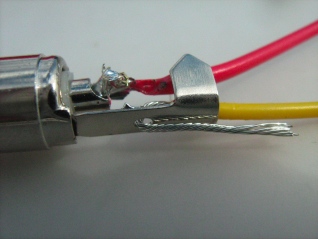
Clip off any excess wire that may lead to a short-circuit.
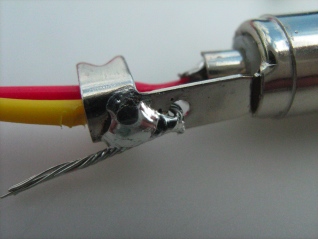
Test your wiring. If all seems well then fold the cable clamps
onto the wires to make the plug socket even more secure...
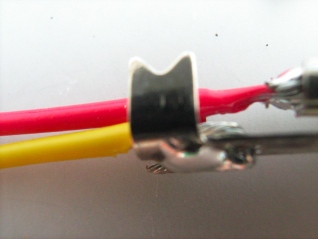
...BUT, only do this if the insulation on the positive wire will stop the cable clamp making
an electrical connection. The cable clamp is also the negative connector.

Finally, slide the shroud into place and screw the socket back together.
Sorted.